
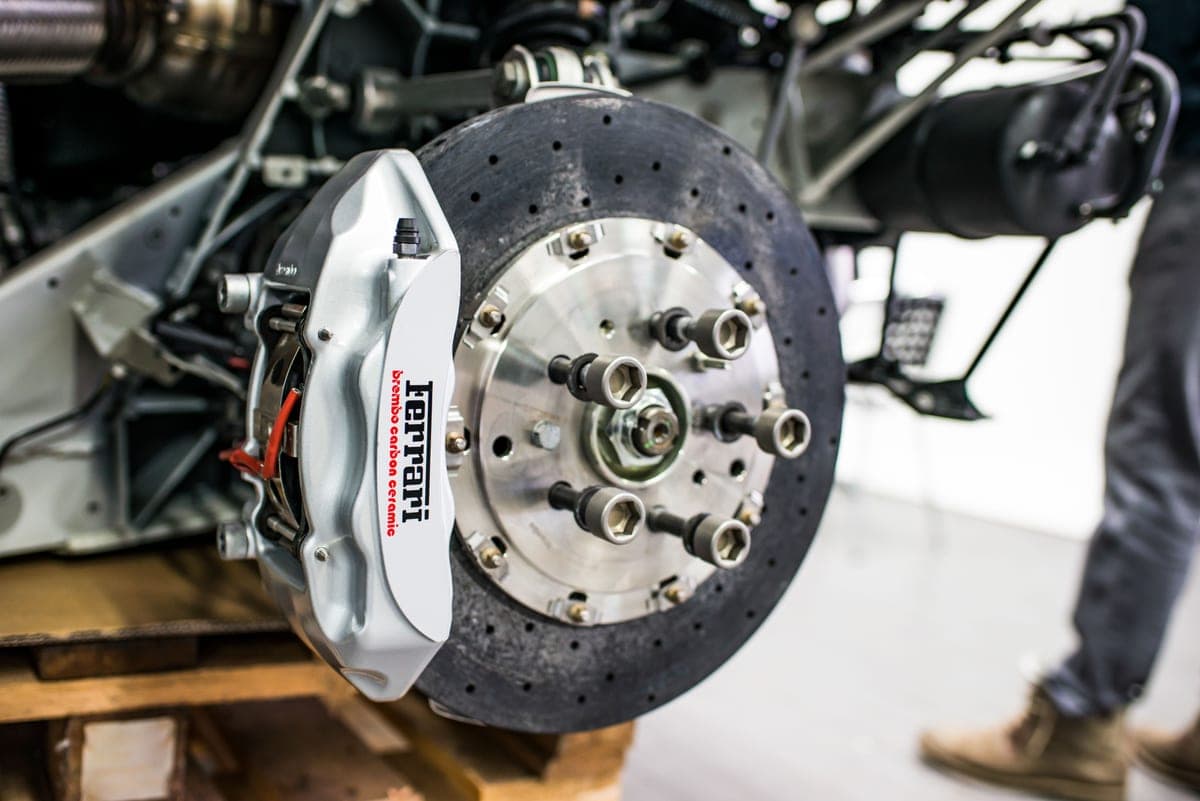
Brake pads are the first genuinely consequential job most people take on. It is well within reach — the mechanical work is straightforward — and it is safety-critical, which changes how carefully you want to approach it.
It also has one modern trap that stops the job dead: the electronic parking brake.
The electronic parking brake problem
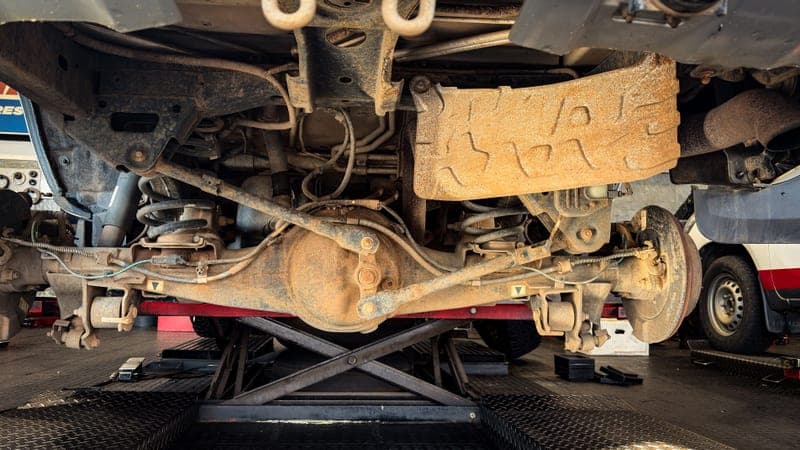
On many modern cars the rear parking brake is applied by an electric motor on the caliper rather than a cable. To fit new pads the piston has to be wound fully back, and on most of those vehicles it has to be commanded electronically into a service or maintenance mode first. The mechanical wind-back that works on a conventional caliper does not apply, and forcing it can damage the actuator.
Check before you start: if your parking brake is a button or a switch rather than a lever or a foot pedal, you probably have one. If you do, a bidirectional scanner with an EPB function is a required tool, not an optional one — bidirectional vs basic scanners covers what to look for.
The complete list
| Item | Why | Notes |
|---|---|---|
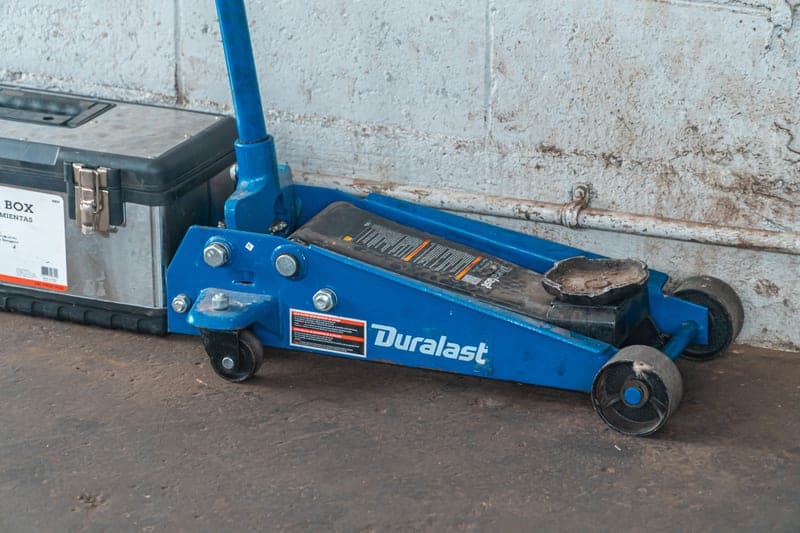
| Jack and jack stands | The wheel has to come off | Ramps cannot do this job |
| Two wheel chocks | The parking brake may be off | Both sides of a front wheel for rear work |
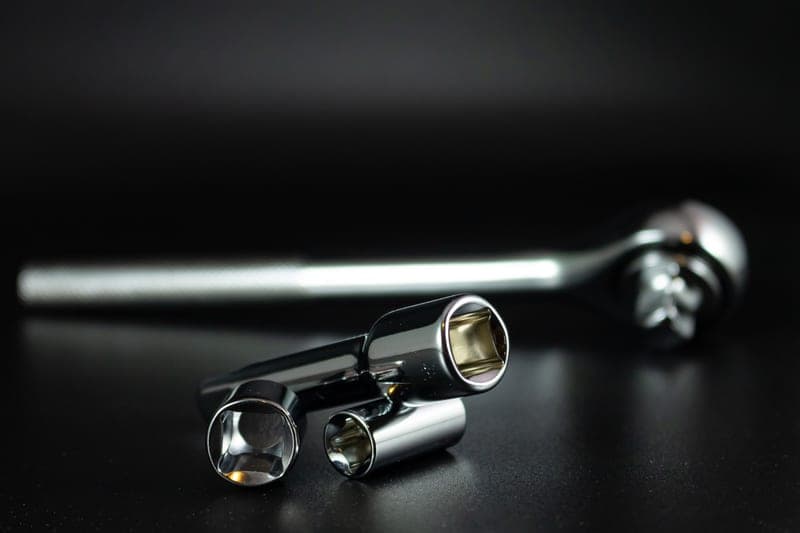
| Breaker bar and wheel socket | Crack the lug nuts on the ground | Never use the torque wrench for this |
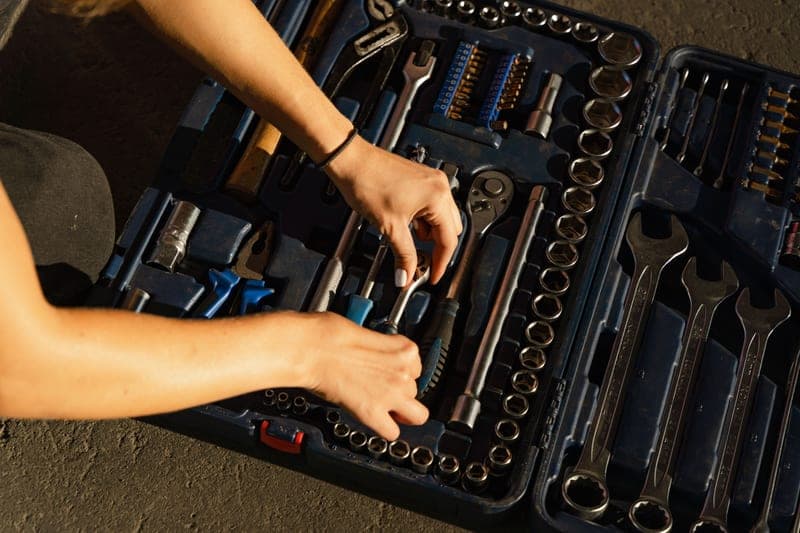
| Socket and wrench set | Caliper and bracket bolts | Often needs a hex or Torx bit as well |
| Caliper piston tool or C-clamp | Retract the piston | Wind-back tool for screw-type rear pistons |
| Bidirectional scanner | Electronic parking brake service mode | Required on most cars with an EPB |
| Brake cleaner and a wire brush | Clean the hub face and carrier | A rusty hub face causes runout |
| High-temperature caliper grease | Slide pins and pad ears | Never on the friction surface |
| Thread locker, if specified | Caliper bolts on some vehicles | Check the service procedure |
| 3/8 in torque wrench | Caliper hardware, 15-45 ft-lb typically | A 1/2 in wrench often cannot measure this |
| 1/2 in torque wrench | Lug nuts on the ground afterwards | Crisscross sequence, then re-torque |
| New pads, and rotors if replacing | The actual parts | Match to your exact vehicle |
| Bungee cord or wire | Hang the caliper | Never leave it hanging on the hose |
The four items people forget
- Something to hang the caliper from. Left dangling on its flexible hose, the hose takes a load it is not designed for, and internal damage is not visible. A bungee cord to the spring is all it takes.
- A wire brush for the hub face. Rust and scale between the rotor and the hub cause runout, which produces a pulsing pedal that gets blamed on the new parts. Cleaning it takes two minutes.
- The right bit for the caliper bolts. Many are hex or Torx, not hex-head, and discovering that with the wheel off is a trip to the store.
- A torque wrench that reaches low figures. Caliper bracket bolts are commonly 15-45 ft-lb. A 1/2 in wrench starting at 40 ft-lb cannot measure most of that range.
Where we would draw the line
Changing pads and rotors does not require opening the hydraulic system, and we would keep it that way for a first brake job. If you find a seized piston, a torn dust boot, a leaking caliper or a corroded flexible line, that is a different job with a different risk profile — bleeding brakes and replacing lines is worth doing with help the first time, because the failure mode is no brakes.
Similarly, if the pads are worn unevenly side to side, something is wrong beyond the pads and fitting new ones will not fix it.
Afterwards
1.Torque the caliper hardware to specification
With the 3/8 in wrench, to your vehicle's figures, in the specified order.
2.Refit the wheel, lower the car, torque the lug nuts
Crisscross sequence, on the ground, to specification — how to torque lug nuts.
3.Pump the pedal before you move
With the piston retracted there is travel to take up. Pump until the pedal is firm before the car moves, not after.
4.Release the electronic parking brake from service mode
If you commanded it into service mode, command it back out, and confirm it operates.
5.Bed the pads in as the manufacturer specifies
Pad makers publish a bedding procedure. Follow theirs rather than a generic one.
6.Re-torque the lug nuts after 50-100 miles
Published industry guidance from Alcoa and Continental.