

Tire rotation is the right second job after an oil change. It is quick, it needs no consumables at all, and it pays for itself in tire life — four tires wearing evenly is money, not maintenance theater. It is also the job that quietly raises the equipment bar, because a rotation puts two wheels in the air at the same time. That single fact is why the list below is longer than the oil change list.
The complete list
| Item | Why | The mistake people make |
|---|---|---|
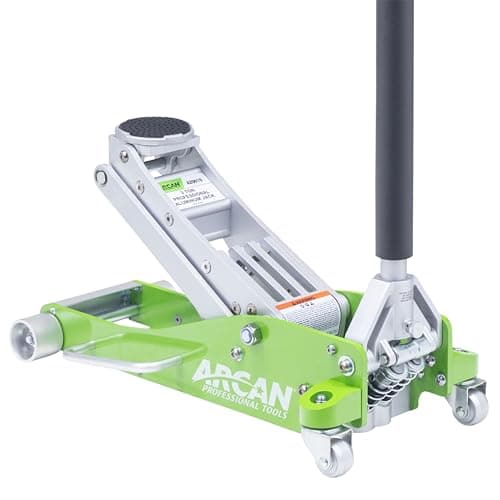
| Floor jack | Lift one corner or one end at a time | Trying to do it with the scissor jack from the trunk |
| Two jack stands (four is better) | Hold two corners at once | Owning one stand, or none |
| Two wheel chocks | Stop the car moving | Relying on the parking brake with an axle in the air |
| Breaker bar or 1/2 in ratchet | Loosen lug nuts | Loosening them after the wheel is off the ground |
| Correct socket, ideally thin-wall | Fit the lug nut without marking the wheel | A chrome socket that chews an alloy wheel face |
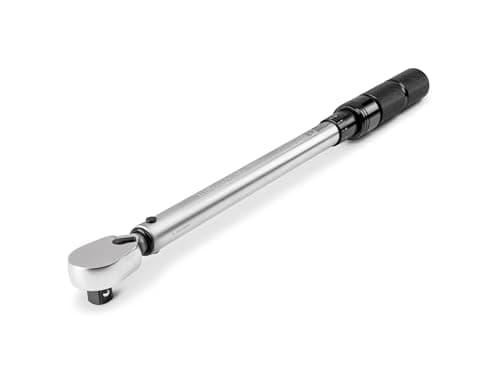
| Torque wrench, 1/2 in drive | Tighten to the vehicle's figure | An impact gun, or a guess |
| Tire pressure gauge and a pump | Set pressures afterward | Moving tires between axles with different specified pressures |
| Chalk or a marker | Label which tire came from where | Losing track halfway and inventing a pattern |
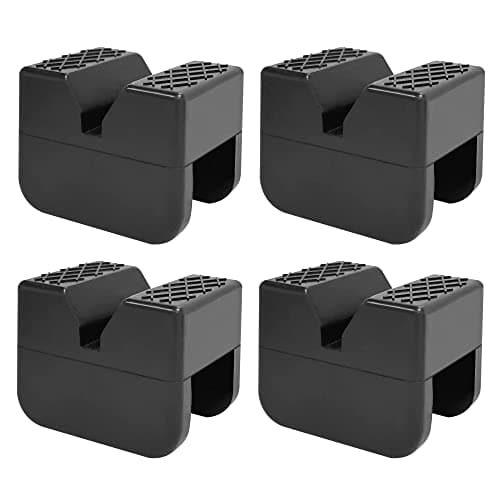
| Pinch weld pad, if applicable | Protect the lift point | Folding the seam with a bare saddle |
The first six items are the job. The pressure gauge is what stops the rotation leaving you with two under-inflated tires, and the chalk is what stops a perfectly good rotation turning into a shuffle.
Why this job needs more stands than an oil change
An oil change can be done with the car on ramps and nothing else lifted. A rotation cannot: at the absolute minimum you have two wheels off the car at once, which means two corners supported on stands while you carry wheels around. There is no version of this job where a jack alone is acceptable, and no version where one stand is enough hardware.
The two-stand method
Lift one end of the car, put both corners on stands, swap those two wheels, let it down, then repeat at the other end. This is the method for most people. It uses two stands, it keeps half the car on its own tires at all times, and it means the wheels only travel short distances.
The four-stand method
All four corners on stands, all four wheels off, every tire moved in one pass. Faster, and it is the only practical way to do a cross-pattern rotation without temporarily stacking wheels. It needs four stands, and it needs you to be genuinely confident about lift points and ground conditions, because the car is entirely on stands with nothing in reserve. How many jack stands do I need? works through both cases, and best jack stands is the shortlist if you are buying the second pair.
Which pattern your car wants
The pattern is not a matter of taste — it is decided by the drivetrain and by the tires themselves. Your owner's manual specifies the one your manufacturer wants, and that is the one to use. In general terms:
Front-wheel drive
The usual specification moves the rear tires forward onto opposite sides, and brings the front tires straight back on the same sides. The logic is that on a front-driven car the rear tires wear more slowly and more evenly, so they are the better pair to put on the axle that steers and does most of the braking.
Rear-wheel and all-wheel drive
The usual specification is the mirror image: rears come forward on the same sides, fronts go back onto opposite sides. On all-wheel drive it also matters that the four tires stay closely matched in tread depth, which is the real reason not to skip rotations on an AWD car.
Directional tires and staggered fitments
Two cases where the pattern changes completely. Directional tires are molded to turn one way, marked with an arrow on the sidewall, and must not change sides — they rotate front to rear only. Staggered fitments, where the rear tires are a different size from the fronts, cannot be rotated front to rear at all; the most you can do is swap left for right, and only if the tires are not directional. If both apply, the tires cannot be rotated on the car at all. Look at your sidewalls and your tire sizes before you start lifting.
The torque wrench is the part that gets skipped
A rotation ends with every wheel on the car removed and refitted, which is sixteen to twenty fasteners all of which have a published figure. Over-tightened lug nuts stretch studs, distort brake rotors and turn the next roadside flat into a job you physically cannot do with the brace in your trunk. Under-tightened ones come loose. Neither failure announces itself at the moment you make it.
Loosen the nuts while the wheel is still on the ground and the tire is taking the torque, lift, swap, then run the nuts down by hand and torque them in a crisscross sequence with the wheel back on the ground. How to torque lug nuts is the full procedure and the lug nut torque chart is where to look up a figure if your manual is missing. Then re-check the torque after 50-100 miles, which is published industry guidance from Alcoa and Continental, not a habit we invented.
If you do not own a torque wrench yet, this is the job that justifies one. Best torque wrench for lug nuts covers the range to buy, and best budget torque wrenches covers doing it cheaply.
The sequence
1.Check the tires before you lift
Look for direction arrows on the sidewalls and compare the front and rear tire sizes. These two checks decide which pattern is even possible, and they take thirty seconds.
2.Note the specified pressures
The door-jamb placard often lists different front and rear figures. If yours does, tires moving between axles need their pressure reset afterward.
3.Chalk each tire where it sits
LF, RF, LR, RR on the sidewall or the tread face. This is the step that stops a rotation becoming guesswork once there are wheels leaning against the garage wall.
4.Chock, then break the nuts loose on the ground
Quarter to half a turn each, with the tire still carrying the load, so the wheel cannot spin against you.
5.Lift at the specified point and set the stands
One end at a time, or all four if you have four stands. Where to put jack stands covers the placement; the jack comes out from under the car only after the stands are carrying the weight.
6.Move the wheels to their new positions
Following the pattern your manual specifies. Run every nut down by hand until the wheel is flush against the hub before any tool touches it — cross-threading a stud is the expensive mistake here.
7.Lower, then torque in a crisscross pattern
Weight back on the tires, then the torque wrench, working across the wheel rather than around it, to the vehicle's own figure.
8.Set pressures, then re-torque after 50-100 miles
Adjust each tire to the figure for its new position, and put a reminder in your phone for the re-torque.
What you can skip
The short version
- An impact wrench. It is the fastest way to over-tighten a wheel and it replaces nothing a breaker bar cannot do.
- A second jack. One jack and two stands beats two jacks and no stands, every time.
- Wheel hangers or alignment studs. Nice on heavy truck wheels, unnecessary on a passenger car.
- A creeper. Nothing about a rotation puts you under the car.
- Ramps. They cannot do this job at all - the wheels have to come off.
What you should not skip is the pair of stands and the torque wrench. Everything else on the list is convenience; those two are the job being done properly. The beginner mechanic tool kit is the wider set this job slots into, and the brake job tool list is the natural next step once you are comfortable with wheels off.