The direct answer, as a list. On a typical modern unibody car, the designed jacking points are:
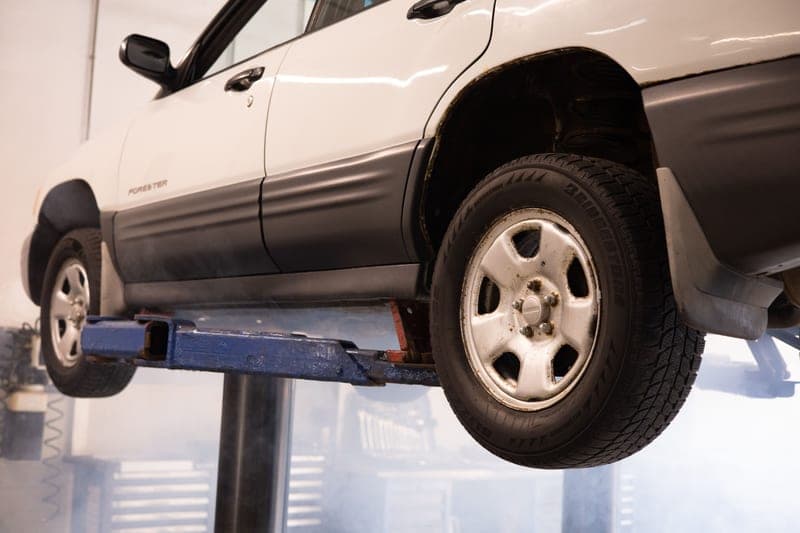
- The four sill (pinch weld) points, one behind each front wheel and one ahead of each rear wheel — usually marked with a notch, arrow or reinforced pad in the plastic trim.
- The front subframe or crossmember, for lifting the whole front end at once — but only where the manufacturer designates it.
- The rear subframe or a designated rear central point, for the same reason at the back.
- A solid rear axle, on vehicles that have one, lifted at the differential housing or a designated axle point.
- Designated body-on-frame rails, on trucks and older SUVs with a separate chassis.
Your owner's manual is the authority for which of these your specific car has and where. Everything below is how to recognize and use them.
What a pinch weld actually is
On a unibody car, the floor pan and the outer sill panel are pressed together and welded along a seam running front to back under each door. That seam — a double thickness of sheet steel standing proud by an inch or so — is the pinch weld.
Most of its length is not a lift point. Specific sections are reinforced, sometimes with an extra plate or a molded notch in the trim, and those are the designed points. Lifting on the unreinforced part folds the seam over, which is both ugly and a place for rust to start.
A slotted jack pad captures the seam in a groove so the load bears on the metal either side of it. See the pinch weld guide.
How to find your points
1.Read the manual first
Usually in the tire-changing section. It will show a diagram with the points marked, and often a warning about which areas to avoid.
2.Look for the markers on the car
A notch in the plastic sill cover, a small triangle or arrow stamped or molded nearby, or a visibly thicker section of the seam. On many cars there are two per side.
3.Feel along the seam
A reinforced section feels distinctly more solid and often slightly thicker. Run a hand along it — with the car on the ground — and you can usually find the transition.
4.Check for a factory jack that tells you
The scissor jack supplied with the car has a slotted head shaped for your pinch weld. Where it fits cleanly is where the designed point is.
Where a jack never goes
| Location | Why not | What happens |
|---|---|---|
| Floor pan | Unreinforced sheet metal | Dents, and can tear around the saddle |
| Suspension arms | Designed to move under load | Geometry shifts as you lift; the arm can slip off |
| Plastic under-trays and covers | Not structural at all | Cracks, and the jack finds something soft behind |
| Exhaust, fuel lines, brake lines | Services, not structure | Expensive and sometimes dangerous damage |
| Unreinforced sections of the pinch weld | Only specific sections are designed for it | Folds the seam over; a rust starting point |
| Oil pan or transmission pan | Thin, often aluminum, holds fluid | Cracks or distorts the sealing face |
Lifting a whole end from a central point
Some cars designate a front crossmember or subframe point that lifts both front wheels at once. This is convenient and it roughly doubles the load on the jack compared to a single corner, which is worth checking against your jack's rating — see the floor jack capacity guide.
It also changes the stability picture: a car balanced on a single central jack point is less stable side-to-side than one lifted at a corner, so it is especially important to get the stands in promptly and to have chocked the rear wheels properly.
Body-on-frame vehicles are easier
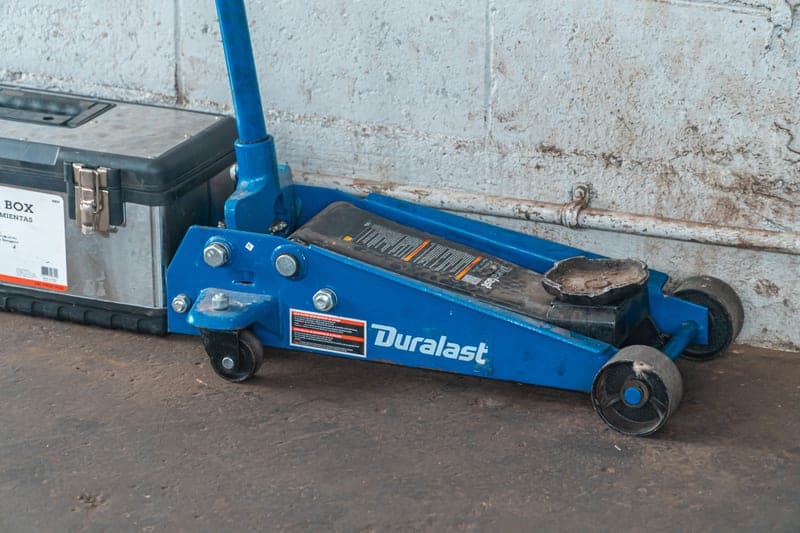
A truck or older SUV with a separate ladder frame has an obvious, strong, flat structure to lift on, and the designated points are usually on the frame rails or the axle. This is one area where an older vehicle is genuinely simpler than a modern one. The trade-off is height: you need a jack that reaches, which is what the 20-7/8 in class of trolley jack exists for.