
Skip to content
JACK & TORQUE

Pillar guide

How to Jack Up a Car Safely

Nine steps in a fixed order. The whole procedure exists to make step seven — the load transfer — routine.

By Ryder M. · Published September 26, 2026 · Last reviewed September 26, 2026

We earn a commission when you buy through the Amazon links on this page, at no extra cost to you. It never changes which tool we put first, and we publish no price we have not verified. How this site is funded.

How to Jack Up a Car Safely — ranked picks with scores and a price check for each
#PickCapacityScorePrice
1
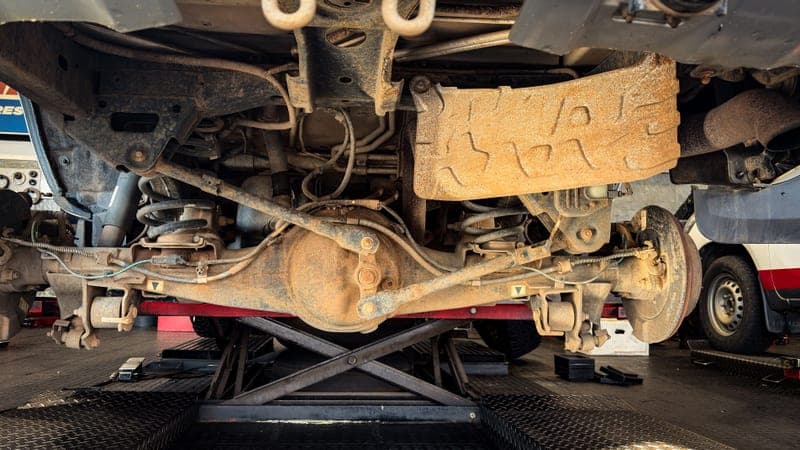
Close view of a car suspension assembly during a repair in a garage
BIG RED T43002A 3-Ton Double-Locking Jack StandsThe stands this procedure depends on
3 ton (6,000 lb) per pair9.1
2
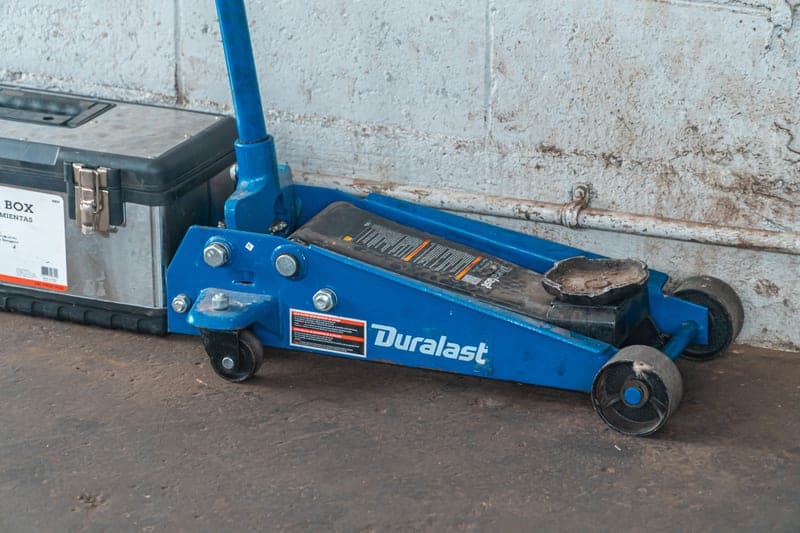
A blue hydraulic floor jack standing beside an open toolbox on a garage floor
Arcan 3-Ton Aluminum Floor Jack (A20018)A jack that makes step six easy
3 ton9.0
3
A car tire resting on a cobblestone road
Camco 44472 Wheel Chock with RopeThe chock step three needs
8-1/8 in x 4-5/8 in x 5-3/8 in9.0
4
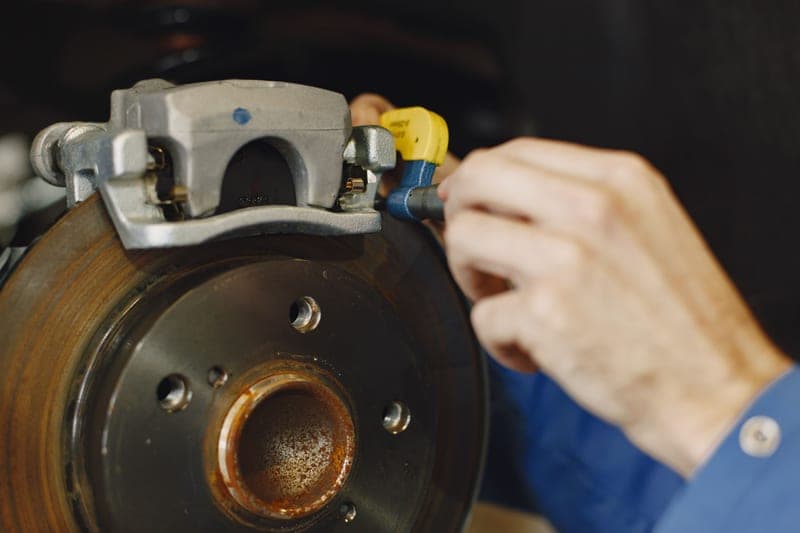
A mechanic working on a car disc brake
Schwaben Pinch Weld ProtectorProtecting the lift point
3 in8.8

Photographs on this page are licensed stock images that show the category, not the exact model, and not anything we own. We have no test rig and claim none.

A mechanic repairing a red car at the side of a street

What you need

Step 1: the ground decides everything else

Flat, solid and level. Concrete is ideal. Sound asphalt works, with the caveat that a stand's foot can sink into it in hot weather — which is what wide formed bases like Hein-Werner's 7-5/8 x 8-3/4 in are for.

What does not work: any slope, gravel, grass, dirt, or a driveway with a cross-fall. A slope loads both the jack and the stands sideways, in the one direction neither is designed for, and it gives the car somewhere to go. If your driveway slopes and the street is flat, use the street. Jacking up a car on gravel covers the difficult surfaces honestly.

Steps 2 and 3: securing and chocking

Engine off. Automatic in park, manual in gear. Parking brake on — with one exception: if you are working on the rear brakes, the parking brake acts on the very components you are about to service, so leave it off and rely on the transmission plus chocks on both sides of a front wheel.

The chock goes at the opposite end from the lift. Lifting the front? Chock a rear wheel. It is the cheapest item in this entire procedure and it is what stops the car rolling when one end is off the ground.

Step 4: finding the lift point

Your manual shows it, and most cars mark it — a notch in the plastic sill trim, a small arrow, or a visibly reinforced section of the seam. On a unibody car the structure is folded sheet metal and only specific reinforced areas are designed to carry a corner of the vehicle.

Do not improvise. A jack under a floor pan dents it; under a suspension arm, the arm moves as the load comes on; under a plastic under-tray, nothing good. Car jack points goes area by area.

Step 5: set the stands before you lift

This step is out of the order most people expect, and it is deliberate. Set both stands to the same height on the bench, by counting teeth or holes, before the car is in the air. That way you are never adjusting a stand while a car is being held above it, and you know in advance that your jack can reach past the setting.

Step 6: lifting

Pump until the saddle just contacts the lift point, then stop and look. Is it square? Centered? On the reinforced section and not the thin metal beside it? If the car has a pinch weld and you are using a slotted pad, is the seam sitting in the slot?

Then continue. You need the tire clear of the ground plus enough room to slide a stand underneath at its setting — which is usually more lift than feels necessary.

Step 7: the load transfer

Place the stands under structural metal — subframe, frame rail, reinforced sill point, or a solid rear axle — at matched heights. Then release the jack valve slowly and watch each saddle engage. If a stand tips, slides, or contacts on one edge only, stop, lift again, and reposition.

When the car's weight is on the stands, leave the jack in place, snug against the lift point but carrying nothing. It costs you nothing and it is one more obstruction if a stand moves. How to use jack stands safely is the detailed version of this step.

Step 8: the test

Push the raised corner firmly, front-to-back and side-to-side. It should feel dead. Rocking, creaking, or a small settling movement means something is not right — a saddle not bearing squarely, one base on uneven ground, or a stand not fully locked. Raise it on the jack and reset. Only after this test does any part of you go under the car.

Step 9: lowering

Everything out from under the car first. Lift on the jack just enough to unload both stands, remove them completely, then open the release valve slowly. Floor jack releases are often more sensitive than people expect, and dropping the last two inches is hard on the car and the jack.

If a wheel came off, the lug nuts get torqued with the car back on the ground, in a crisscross sequence — see how to torque lug nuts.

The standard behind all of this

Jacks, stands and ramps in the US are covered by ASME PASE, currently the 2024 edition, which sets design, construction, marking and owner-inspection requirements for all three. The procedure above is not a house style — it is the working expression of what that equipment is designed to do and what it is not.

The picks in full

Every pick, in detail

Close view of a car suspension assembly during a repair in a garage

1. The stands this procedure depends on

BIG RED T43002A 3-Ton Double-Locking Jack Stands

Torin (BIG RED) · score 9.1/10

A ratchet bar plus a separate safety pin — two independent locks instead of one — at the height range a car actually needs, and Torin states they meet ASME safety standards.

Ratchet bar plus an independent safety pin, 11-1/4 in to 16-3/4 in, ASME compliance stated by Torin. Two locking mechanisms means step seven has a backup.

Published specifications

Capacity
3 ton (6,000 lb) per pair Torin
Min height
11-1/4 in Torin
Max height
16-3/4 in Torin
Base footprint
7-11/16 in x 6-7/8 in Torin
Standards
Meets ASME safety standards Torin

What works

  • Two independent locking mechanisms, not one
  • 11-1/4 in to 16-3/4 in matches what a 3-ton floor jack can reach
  • The cheapest way to buy a genuinely double-locked stand

What you give up

  • Rated per pair, not per stand — read the rating before loading two corners
  • 11-1/4 in minimum is taller than some low cars want
  • Torin's own listing says this size is not intended for SUVs or trucks

Our scoring

  • Fit & reach8.6
  • Safety margin9.2
  • Beginner ease9.0
  • Build quality8.2
  • Value9.4
Check price on Amazon

#ad No price shown — we have no live feed. How this is funded

Specifications published by Torin (BIG RED) — we earn nothing from that link.

A blue hydraulic floor jack standing beside an open toolbox on a garage floor

2. A jack that makes step six easy

Arcan 3-Ton Aluminum Floor Jack (A20018)

Arcan · score 9.0/10

A 3-ton aluminum service jack that slides under a stock sedan at 3.78 in and still reaches 18.9 in — the widest useful range a beginner can buy at one weight they can actually move.

3.78 in minimum height gets it under a normal car, and 18.9 in of lift is enough to clear an 11-1/4 in stand with margin — which is the pairing step seven needs.

Published specifications

Min saddle height
3.78 in Arcan Professional Tools
Max lift height
18.9 in Arcan Professional Tools
Material
Aluminum Arcan Professional Tools

What works

  • Fits under most unmodified sedans without ramps or boards
  • 18.9 in of lift clears a wheel on a crossover, not just a car
  • Aluminum keeps it at a weight one person can lift into a trunk

What you give up

  • Costs noticeably more than a steel jack of the same capacity
  • Arcan does not publish an ASME PASE compliance statement for this model
  • 52.91 lb is light for the class, not light in absolute terms

Our scoring

  • Fit & reach9.4
  • Safety margin8.8
  • Beginner ease9.0
  • Build quality8.8
  • Value8.0
Check price on Amazon

#ad No price shown — we have no live feed. How this is funded

Specifications published by Arcan — we earn nothing from that link.

A car tire resting on a cobblestone road

3. The chock step three needs

Camco 44472 Wheel Chock with Rope

Camco · score 9.0/10

A UV-stable plastic chock with a pull rope, sized for tires up to 26 in — the cheapest part of a safe lift and the one people skip.

Fits tires up to 26 in, with a 23 in rope so you can retrieve it without putting a hand under the car. Two is the right number.

Published specifications

Dimensions
8-1/8 in x 4-5/8 in x 5-3/8 in Camco
Fits tires
Up to 26 in Camco
Rope
23 in Camco
Material
Hard plastic with UV inhibitors Camco

What works

  • The rope means you can pull it out without reaching under the car
  • Costs less than a single lug nut and stops the car rolling
  • UV inhibitors mean it survives being left outside

What you give up

  • Camco states it is not for commercial trucks or trailers
  • Plastic can slide on a dusty or oily floor
  • Sold singly — buy two

Our scoring

  • Fit & reach8.8
  • Safety margin8.8
  • Beginner ease9.6
  • Build quality8.2
  • Value9.6
Check price on Amazon

#ad No price shown — we have no live feed. How this is funded

Specifications published by Camco — we earn nothing from that link.

A mechanic working on a car disc brake

4. Protecting the lift point

Schwaben Pinch Weld Protector

Schwaben · score 8.8/10

A 3 in slotted pad that straddles the pinch weld so the jack saddle cannot fold it over — the cheapest way to avoid the classic first-jack mistake.

A 3 in slotted pad that straddles a pinch weld so the jack saddle cannot fold the seam over. Adds about 1 in of height, which matters if clearance is tight.

Published specifications

Width
3 in Rennline
Height
1 in Rennline
Fitment
Sits between any jack cradle and the vehicle Rennline

What works

  • The slot captures the pinch weld instead of crushing it
  • Works with a jack you already own
  • Cheap insurance against bodywork damage

What you give up

  • One pad covers one lift point — you may want two
  • Adds 1 in of height, which matters on a low car
  • Does nothing for a car without a pinch weld

Our scoring

  • Fit & reach8.6
  • Safety margin8.8
  • Beginner ease9.2
  • Build quality8.6
  • Value9.2
Check price on Amazon

#ad No price shown — we have no live feed. How this is funded

Specifications published by Schwaben — we earn nothing from that link.

Method

How these picks were chosen

We did not test these tools. We do not run a laboratory, we have not loaded a jack to failure or checked a wrench on a calibration bench, and we will not tell you otherwise. What we did instead is read the published manufacturer specifications, check the figures that matter against the safety standard that applies to portable automotive lifting equipment, and work out which tool suits which job. Every number on this page links to where it came from, so you can check us.

The five things we score are the five that decide a first purchase: will it fit under and lift your car, how much safety margin the rating and the locking mechanism leave you, how hard it is to get right alone in a driveway, what the materials and published standards say about how long it lasts, and what the money buys against the rest of the field.

Read the full method — including how we pick a top pick, and why we publish no prices.

Questions

Frequently asked questions

+Can I get under a car held up by a jack?

No. A jack is a lifting device, not a support device. Transfer the weight to jack stands and test the car before going underneath — every time, regardless of how quick the job is.

+Where do I put the jack on my car?

On the manufacturer's designated lift point, which your owner's manual shows and most cars mark with a notch or arrow near the sill. On unibody cars these are reinforced sections; nothing else is designed to carry the load.

+Can I jack up a car on a driveway that slopes?

Avoid it. A slope loads the jack and stands sideways and gives the car somewhere to roll. If the only level ground available is the street, that is the better option.

+Should the parking brake be on?

Yes, except when working on the rear brakes, where the parking brake acts on the components you are servicing. In that case rely on the transmission and chocks on both sides of a front wheel.

+How high should I lift the car?

Enough that the tire is clear and a stand fits underneath at its set height, plus margin. Since many 3-ton stands start around 11 in, plan for that before you begin rather than discovering it mid-lift.

Sources

Where these figures come from

Read next

Related reading