
Short answer: chock both rear wheels, find the front lift point your manufacturer names, and raise the car there - a reinforced sill point behind the front wheel if you are lifting one corner, or a central crossmember or subframe mount if you are raising the whole front end at once. Then put stands under the manufacturer's support points, lower the car onto them until the jack carries nothing, and test the car by pushing it hard at a corner before any part of you goes underneath.
Which front point, for which job
One front corner
Almost always a reinforced point on the sill, a few inches behind the front wheel, and on a modern unibody car that point is often a pinch weld with a notch or a plastic marker in the sill trim showing where it is. Lift there, support there or at the adjacent named support point, and the other three wheels stay on the ground. This is the quickest and most forgiving version of the job. Pinch weld guide covers protecting that point, which matters because a bare jack saddle on a pinch weld folds it.
Both front wheels
Here you need either a central lift point - a front crossmember or a subframe mount that the manufacturer specifically names as suitable for raising the front end - or two separate lifts at the sill points, one side at a time, placing a stand after each. Many cars have a central point; many do not, and using one that is not designated is how undertrays get cracked and crossmembers get dented.
If your car has no named central point, the two-stage method is the answer and it is perfectly normal: lift the left front, set a stand, lower onto it, move the jack, lift the right front, set the second stand, lower onto it. The car ends up level on two stands and you have lifted twice instead of once. Car jack points is the reference for finding what your vehicle actually names.
What never to lift on at the front
A short list, and every item on it is something people have tried. The oil sump or engine pan - it is thin pressed steel or aluminum holding oil, and it dents or splits. The steering rack, tie rods or any steering component. A lower control arm or a ball joint, unless the manufacturer specifically designates that arm as a lift point, which some do and most do not. A plastic undertray or splash shield, which hides whatever is behind it and gives you no idea what the saddle is actually pressing on. The radiator support or any part of the front crash structure.
The underlying rule is the same one that governs the whole category: lift on something the manufacturer designed to be lifted on. Everything else under a car is designed for the loads it normally sees, and a jack saddle concentrating a thousand pounds onto a few square inches is not one of them.
Why the parking brake helps here and not at the rear
A genuinely useful asymmetry that nobody mentions. On the overwhelming majority of cars the parking brake acts on the rear wheels. When you lift the front, the rear wheels stay on the ground and the parking brake is doing real work. When you lift the rear, the parking brake is clamping two wheels that are in the air and contributing nothing at all.
That does not mean you can skip chocks at the front - you cannot, because the force you apply breaking a bolt loose is horizontal and a car on two stands and two wheels has a direction it can move in. It means the rear-lift version of this job is the one where chocks are the only thing stopping the car rolling, and it deserves more care rather than less. Wheel chocks guide covers placing them properly.
How high, and where the stands go
High enough for the job and no higher. A front wheel-off job needs the tire clear of the ground with the suspension hanging at full droop, which is more height than people expect because the suspension extends as the car rises. An oil change needs room for a drain pan and your forearms. A car on the top notch of a 16-3/4 in stand is comfortable for most people; a car on the lowest notch of the same stand is enough to reach a drain plug and not enough to get your shoulders in.
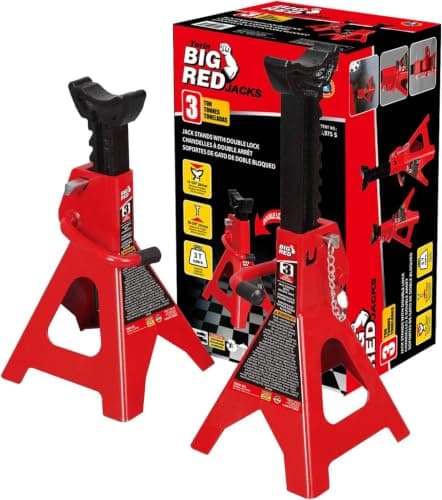
The stands go under the support points the manual names, which are frequently not the same as the jacking point you just used. Set both to the same notch. A ratchet with defined steps makes that easy to verify - Hein-Werner publishes 11/16 in increments on the HW93503, which is what lets you match two stands exactly rather than nearly. Where to put jack stands is the reference, and what size jack stands do I need covers choosing them.
The four mistakes that cause most of the trouble
Lifting on a slope. A front lift on a gradient puts the weight distribution and the rolling direction against you at the same time. Level ground or move the car.
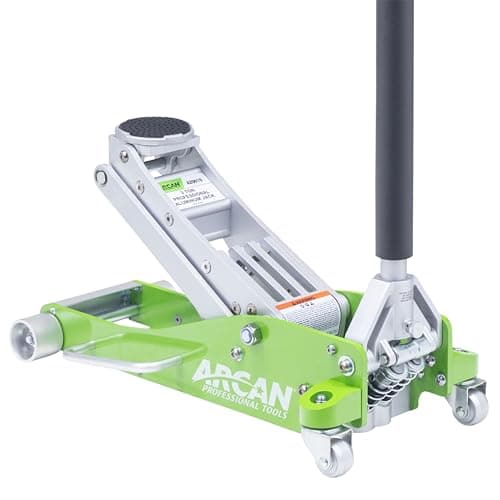
The jack at an angle to the car. A floor jack rolls as the saddle rises, because the saddle travels in an arc. If the jack is not square to the car, that arc takes the saddle sideways across the lift point rather than along it, and the saddle can slip off. Square the jack before you pump.
Stands at different heights. One stand a notch higher than the other means the car is resting unevenly and twisting slightly through its structure, and it rocks. Match the notches.
Removing the jack entirely. It costs nothing to leave it in place, lowered until it touches but carries nothing. It is the cheapest redundancy available on the whole job. How to jack up a car safely is the full general procedure this page specializes.