

Skip to content
JACK & TORQUE

Task guide

How to Change a Tire

Ten steps. Two of them — cracking the nuts on the ground, and torquing after lowering — are the ones most people get backwards.

By Ryder M. · Published September 26, 2026 · Last reviewed September 26, 2026

We earn a commission when you buy through the Amazon links on this page, at no extra cost to you. It never changes which tool we put first, and we publish no price we have not verified. How this site is funded.

How to Change a Tire — ranked picks with scores and a price check for each
#PickCapacityScorePrice
1
A car tire resting on a cobblestone road
Camco 44472 Wheel Chock with RopeStep three
8-1/8 in x 4-5/8 in x 5-3/8 in9.0
2
A chrome socket wrench set photographed against a dark background
TEKTON 1/2 in Drive Micrometer Torque Wrench (TRQ52402)Step ten
1/2 in8.9
3
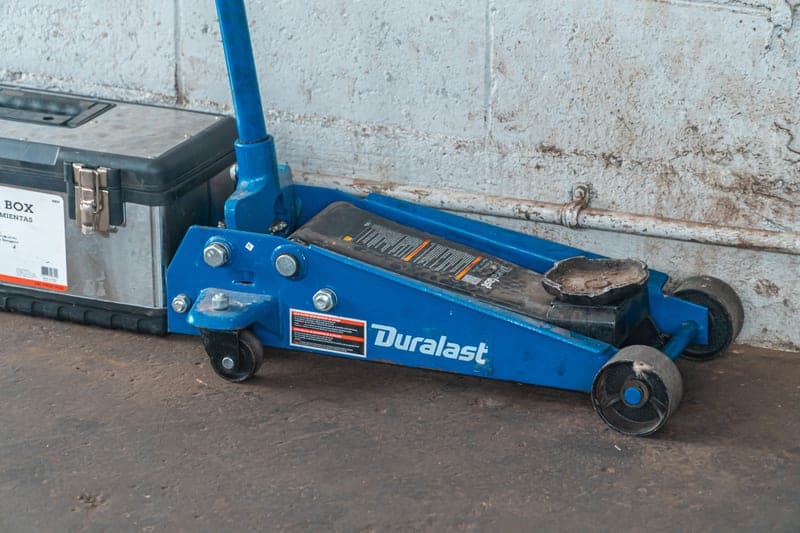
A blue hydraulic floor jack standing beside an open toolbox on a garage floor
Arcan 3-Ton Aluminum Floor Jack (A20018)For driveway changes
3 ton9.0
4
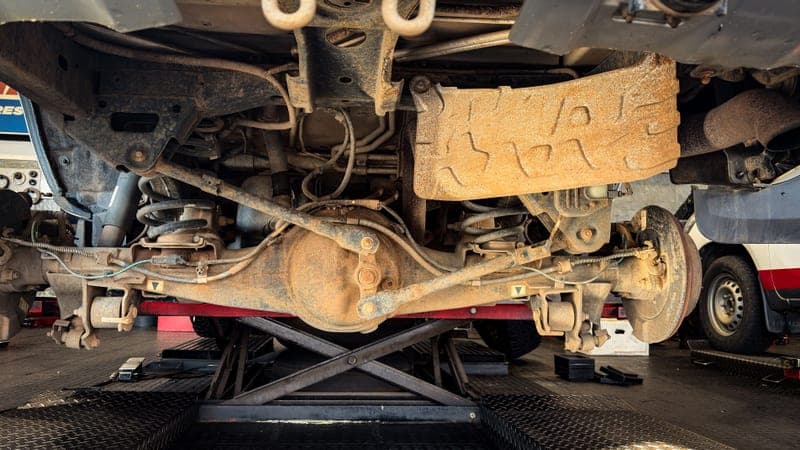
Close view of a car suspension assembly during a repair in a garage
BIG RED T43002A 3-Ton Double-Locking Jack StandsIf you will be there a while
3 ton (6,000 lb) per pair9.1

Photographs on this page are licensed stock images that show the category, not the exact model, and not anything we own. We have no test rig and claim none.

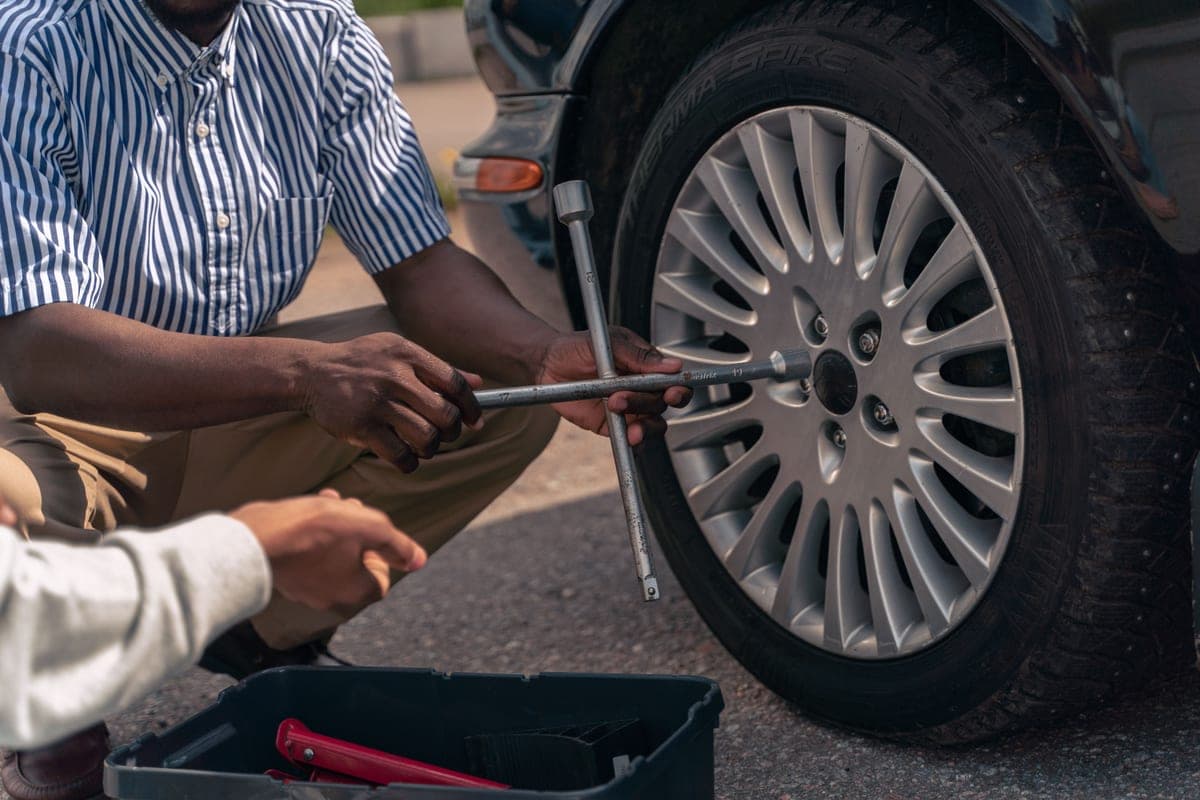
An adult showing a teenager how to change a tire at the roadside

Two different jobs

A roadside swap and a driveway change are the same mechanical operation with different risk profiles. Roadside: you are working next to a wheel, briefly, with traffic as the hazard, using the jack that came with the car. Driveway: you have time and proper tools, and you should be using stands because you will be reaching into the arch.

The two steps people get backwards

The order that matters
StepDo itWhy
Crack the lug nutsBefore lifting, wheel on the groundThe ground stops the wheel spinning while you apply force
Torque the lug nutsAfter lowering, wheel on the groundA wheel in the air rotates; anything you do to stop it adds false torque
The order that matters

Both mistakes have the same root: forgetting that a wheel in the air is free to turn. Loosen on the ground, tighten on the ground, and everything in between with the wheel up.

The procedure

  1. 1.Get somewhere safe and level

    Firm, flat ground, as far from traffic as possible. Hazards on. Not on a slope, not on gravel if you can avoid it — jacking up a car on gravel explains why.

  2. 2.Secure the car

    Engine off, automatic in park or manual in gear, parking brake on.

  3. 3.Chock a wheel at the opposite end

    Changing a front wheel? Chock a rear. Wheel chocks guide.

  4. 4.Crack the nuts loose on the ground

    A quarter turn each with a breaker bar — never your torque wrench. If they are extremely tight, brace yourself properly and think about where the bar goes if it slips.

  5. 5.Position the jack on the lift point

    The manufacturer's designated point — car jack points. Saddle square and centered, with a slotted pad if the car has pinch welds.

  6. 6.Lift with room to spare

    Remember the spare is inflated and therefore taller than the flat tire you are removing — lift higher than seems necessary or you will not get it on.

  7. 7.Set stands for driveway work

    Any job where you will be reaching into the arch for more than a moment, the weight goes onto stands. How to use jack stands safely.

  8. 8.Remove the nuts and the wheel

    Put the nuts somewhere they cannot roll away — a pocket, a hubcap, a chock. Lift the wheel off squarely; it is heavier than it looks.

  9. 9.Fit the spare and hand-start every nut

    All of them finger-tight before you tighten any, which confirms nothing is cross-threaded. Then snug in a crisscross pattern so the wheel pulls squarely onto the hub.

  10. 10.Lower and torque

    Remove stands, lower the car, then torque to your vehicle's specification in a crisscross sequence — how to torque lug nuts. Then re-torque after 50-100 miles.

Know what kind of spare you have

Three possibilities, with genuinely different consequences:

  • Full-size spare. Drive normally, and rotate it into the set when convenient.
  • Temporary (space-saver) spare. Speed and distance limits are printed on it — typically well below normal highway speed. It is a get-you-to-a-tire-shop device, not a tire.
  • No spare at all. Increasingly common. You have a sealant canister and a compressor instead, which handles a puncture and not a sidewall failure. Worth checking which you have before you need it.

Afterwards

The short version

  • Check the spare's pressure — spares lose pressure sitting unused for years
  • Get the flat repaired or replaced promptly; you now have no spare
  • Re-torque the lug nuts after 50-100 miles, per published industry guidance
  • Put the jack, brace and chock back in the car rather than leaving them in the garage

The picks in full

Every pick, in detail

A car tire resting on a cobblestone road

1. Step three

Camco 44472 Wheel Chock with Rope

Camco · score 9.0/10

A UV-stable plastic chock with a pull rope, sized for tires up to 26 in — the cheapest part of a safe lift and the one people skip.

Fits tires up to 26 in, with a rope so you can pull it clear without reaching under the car. The cheapest item in the whole procedure.

Published specifications

Dimensions
8-1/8 in x 4-5/8 in x 5-3/8 in Camco
Fits tires
Up to 26 in Camco
Rope
23 in Camco
Material
Hard plastic with UV inhibitors Camco

What works

  • The rope means you can pull it out without reaching under the car
  • Costs less than a single lug nut and stops the car rolling
  • UV inhibitors mean it survives being left outside

What you give up

  • Camco states it is not for commercial trucks or trailers
  • Plastic can slide on a dusty or oily floor
  • Sold singly — buy two

Our scoring

  • Fit & reach8.8
  • Safety margin8.8
  • Beginner ease9.6
  • Build quality8.2
  • Value9.6
Check price on Amazon

#ad No price shown — we have no live feed. How this is funded

Specifications published by Camco — we earn nothing from that link.

A chrome socket wrench set photographed against a dark background

2. Step ten

TEKTON 1/2 in Drive Micrometer Torque Wrench (TRQ52402)

TEKTON · score 8.9/10

40-200 ft-lb on a 90-tooth head covers every lug-nut spec a normal car will ask for, and it clicks loudly enough that a beginner can hear it.

40-200 ft-lb, 1/2 in drive, 90-tooth head — which matters in the confined swing of a wheel arch.

Published specifications

Drive
1/2 in TEKTON
Range
40 – 200 ft-lb TEKTON
Head
90-tooth, dual direction TEKTON
Included
Storage case TEKTON

What works

  • 40-200 ft-lb brackets the 80-100 ft-lb most cars want at the wheel
  • 90-tooth ratchet needs only a small swing in a wheel well
  • Loud, unambiguous click — the thing beginners most need

What you give up

  • TEKTON does not publish an accuracy percentage for this model
  • Cannot do low-torque work — the range starts at 40 ft-lb
  • Must be wound back to its lowest setting after every use

Our scoring

  • Fit & reach9.0
  • Safety margin8.4
  • Beginner ease9.2
  • Build quality8.4
  • Value9.2
Check price on Amazon

#ad No price shown — we have no live feed. How this is funded

Specifications published by TEKTON — we earn nothing from that link.

A blue hydraulic floor jack standing beside an open toolbox on a garage floor

3. For driveway changes

Arcan 3-Ton Aluminum Floor Jack (A20018)

Arcan · score 9.0/10

A 3-ton aluminum service jack that slides under a stock sedan at 3.78 in and still reaches 18.9 in — the widest useful range a beginner can buy at one weight they can actually move.

3.78 in to 18.9 in, far easier to place and control than a scissor jack. Keep the scissor jack in the car for roadside use.

Published specifications

Min saddle height
3.78 in Arcan Professional Tools
Max lift height
18.9 in Arcan Professional Tools
Material
Aluminum Arcan Professional Tools

What works

  • Fits under most unmodified sedans without ramps or boards
  • 18.9 in of lift clears a wheel on a crossover, not just a car
  • Aluminum keeps it at a weight one person can lift into a trunk

What you give up

  • Costs noticeably more than a steel jack of the same capacity
  • Arcan does not publish an ASME PASE compliance statement for this model
  • 52.91 lb is light for the class, not light in absolute terms

Our scoring

  • Fit & reach9.4
  • Safety margin8.8
  • Beginner ease9.0
  • Build quality8.8
  • Value8.0
Check price on Amazon

#ad No price shown — we have no live feed. How this is funded

Specifications published by Arcan — we earn nothing from that link.

Close view of a car suspension assembly during a repair in a garage

4. If you will be there a while

BIG RED T43002A 3-Ton Double-Locking Jack Stands

Torin (BIG RED) · score 9.1/10

A ratchet bar plus a separate safety pin — two independent locks instead of one — at the height range a car actually needs, and Torin states they meet ASME safety standards.

Double locking, 11-1/4 in to 16-3/4 in, ASME compliance stated by Torin. A quick roadside swap is a jack-only job; a driveway job where you are reaching into the arch is not.

Published specifications

Capacity
3 ton (6,000 lb) per pair Torin
Min height
11-1/4 in Torin
Max height
16-3/4 in Torin
Base footprint
7-11/16 in x 6-7/8 in Torin
Standards
Meets ASME safety standards Torin

What works

  • Two independent locking mechanisms, not one
  • 11-1/4 in to 16-3/4 in matches what a 3-ton floor jack can reach
  • The cheapest way to buy a genuinely double-locked stand

What you give up

  • Rated per pair, not per stand — read the rating before loading two corners
  • 11-1/4 in minimum is taller than some low cars want
  • Torin's own listing says this size is not intended for SUVs or trucks

Our scoring

  • Fit & reach8.6
  • Safety margin9.2
  • Beginner ease9.0
  • Build quality8.2
  • Value9.4
Check price on Amazon

#ad No price shown — we have no live feed. How this is funded

Specifications published by Torin (BIG RED) — we earn nothing from that link.

Method

How these picks were chosen

We did not test these tools. We do not run a laboratory, we have not loaded a jack to failure or checked a wrench on a calibration bench, and we will not tell you otherwise. What we did instead is read the published manufacturer specifications, check the figures that matter against the safety standard that applies to portable automotive lifting equipment, and work out which tool suits which job. Every number on this page links to where it came from, so you can check us.

The five things we score are the five that decide a first purchase: will it fit under and lift your car, how much safety margin the rating and the locking mechanism leave you, how hard it is to get right alone in a driveway, what the materials and published standards say about how long it lasts, and what the money buys against the rest of the field.

Read the full method — including how we pick a top pick, and why we publish no prices.

Questions

Frequently asked questions

+Should I loosen lug nuts before jacking up the car?

Yes — crack them a quarter turn while the wheel is still on the ground, which stops it spinning while you apply force. Remove them fully once the wheel is in the air.

+Do I need jack stands to change a tire?

For a brief roadside swap where you are working beside the wheel, the jack is the normal tool. For a driveway change where you are reaching into the arch, use stands — it costs a minute and removes the only real mechanical risk.

+How tight should the lug nuts be on a spare?

To your vehicle's published specification, the same as any wheel, applied with a torque wrench after the car is back on the ground. If you have no wrench at the roadside, tighten firmly in a crisscross pattern and torque properly at the first opportunity.

+How far can I drive on a space-saver spare?

Only as far and as fast as the limits printed on the spare itself allow, which are typically well below normal highway speed. It is designed to get you to a tire shop.

+Why do I need to re-torque after driving?

Because the many mating surfaces in a wheel joint settle slightly and lose clamping force. Alcoa and Continental both publish a re-torque recommendation at roughly 50-100 miles.

Sources

Where these figures come from

Read next

Related reading