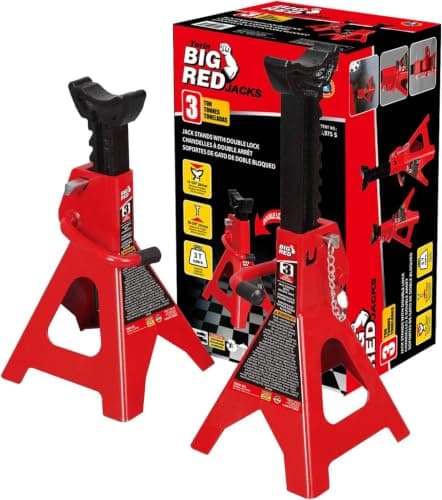
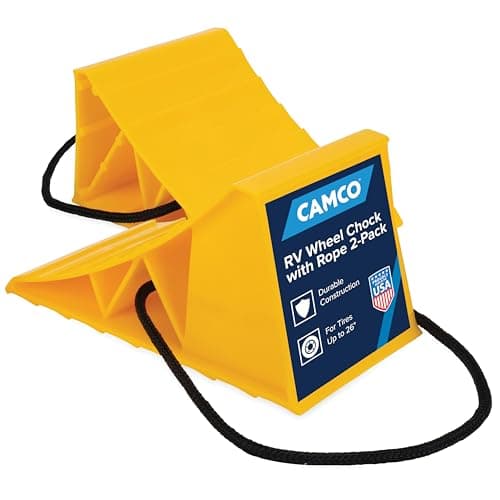
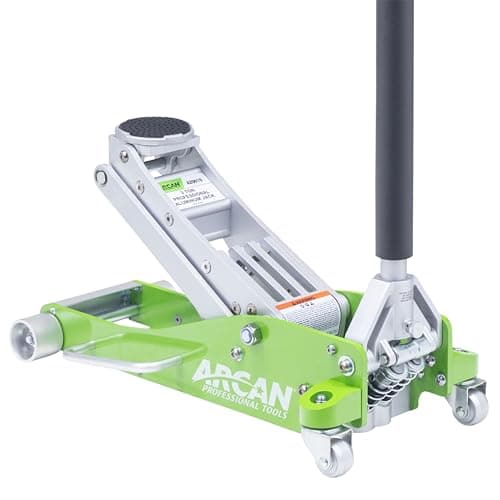
Direct answer: raise the front of the car only, at the manufacturer's front lift points, and lower it onto two jack stands set to the same height, with both rear wheels chocked and the parking brake on. Go only as high as you need to slide a drain pan under the sump and get your arms in — usually the stand's lowest or second setting on a sedan. Never work under a car held up by the jack.
How high does the car actually need to be?
Less than most people assume. The constraint is not your body — it is the drain pan. You need enough clearance under the sump to slide a pan in, position it under the plug, and pull it out again without tipping it. On most sedans that is satisfied at the lowest or second notch of a 3-ton stand, which is around 11 to 12 in of stand height.
Going higher is not safer. A taller stand setting puts the load further from the base and narrows the stability margin, and it means a longer lift on the jack. If your oil filter is a cartridge accessed from above, you may need no extra height at all beyond reaching the drain plug.
Front only, or all four corners?
Front only, for almost every vehicle. The sump sits at the front and the drain plug is reachable from there, so raising the rear adds two more stands, two more lift points and a more complicated setup for no benefit. The rear wheels stay on the ground where they do useful work — holding the car still.
The argument for raising all four is drainage: a car sitting nose-up holds a little oil at the back of the pan. In practice the volume is small, the refill is measured, and the level is checked on level ground afterwards. If you want the car level anyway, that is a four-stand job with its own procedure, not an extension of this one.
Where the jack and stands go
On most unibody cars the rated front lift points are reinforced sections of the sill just behind the front wheels, marked with a notch, an arrow or a triangle in the plastic trim. Some vehicles also publish a central front subframe or crossmember point that lets you lift both front corners at once. Both are in the owner's manual, and only the manual is authoritative for your car.
The short version
- Never jack on the oil pan, the sump, a suspension arm, a floor pan or an exhaust component.
- Never place a stand anywhere the manual does not name as a support point.
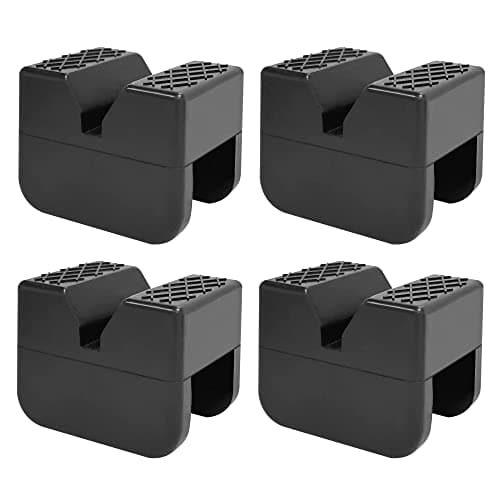
- If the lift point is a bare pinch weld, use a slotted pad so the saddle captures the seam instead of crushing it.
- Set both stands to the same notch before the car goes up, not after.
The identification process on an unfamiliar car is in car jack points, and where to put jack stands covers the support side specifically. If your car's seam is exposed, the pinch weld guide is the short version of why it bends.
The sequence
1.Warm the engine, then wait
Warm oil carries more of what you are trying to remove and drains faster. Hot oil and a hot exhaust burn. A short drive followed by ten to fifteen minutes is the usual compromise. If in doubt, touch the exhaust near the sump first.
2.Park, secure and chock
Level concrete only. Engine off, in park or in gear, parking brake on, and a chock on both sides of a rear tire. The wheel chocks guide covers placement.
3.Set both stands to the same height
Count ratchet teeth or pin holes. This is the step that gets skipped and the reason cars end up sitting twisted on mismatched stands.
4.Lift at the rated point
Raise slowly, watching the saddle stay square against the lift point. Stop when the car is just clear of the stand height you have set, plus enough to slide the stand in.
5.Place the stands and transfer the load
Under the rated support points, then release the jack valve slowly until the stands carry the car. Leave the jack in light contact as a backup, carrying nothing.
6.Test, then work
Push hard on the front bumper, front to back and side to side. If anything rocks, lift again and reset. If nothing moves, slide the drain pan under the sump and start.
7.Lower in reverse, then check the level
Lift off the stands, remove them, release the valve slowly. Check the dipstick only once all four wheels are on level ground and the oil has had a few minutes to settle.
The mistake that ruins the oil level reading
Checking the dipstick with the front end still in the air. A car sitting nose-up pools oil at the back of the pan and the dipstick reads low, so people add oil they do not need and end up overfilled — which is worse than slightly underfilled, because the crankshaft starts aerating the oil. Lower the car, wait a few minutes for the oil to drain back into the sump, then read the stick on level ground.
Or skip the jack entirely
The oil change is the one job where ramps genuinely beat a jack and stands: drive on, chock, done, with no lift points to find and no heights to match. The limitation is that ramps keep the wheels on, which is irrelevant here and decisive for brakes and tires. If your garage floor is flat and your front bumper clears a 17-degree incline, a pair of ramps will make this job a one-minute setup. The comparison is in floor jack vs ramps.
What you should not do is improvise. Bricks, cinder blocks, wood stacks and a scissor jack from the trunk are not supports, and the reasons are in jack stands vs wood blocks.
What else the job needs
Beyond the lift: a drain pan with enough capacity for your engine, the correct filter and sump plug washer, a filter wrench of the right type, a funnel, and the oil itself in the grade the manual specifies. The first oil change tool list is the full inventory, and the stands for this job compares the four sets worth buying.