
Skip to content
JACK & TORQUE

Guide

How to Use a Torque Wrench

Seven steps. The one people get wrong is the last one, which happens after the job is finished.

By Ryder M. · Published September 26, 2026 · Last reviewed September 26, 2026

We earn a commission when you buy through the Amazon links on this page, at no extra cost to you. It never changes which tool we put first, and we publish no price we have not verified. How this site is funded.

How to Use a Torque Wrench — ranked picks with scores and a price check for each
#PickDriveScorePrice
1
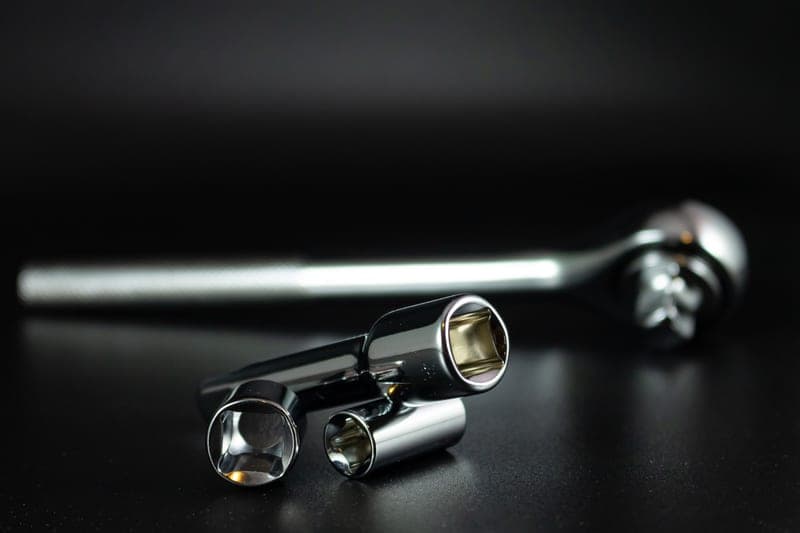
A chrome socket wrench set photographed against a dark background
TEKTON 1/2 in Drive Micrometer Torque Wrench (TRQ52402)A wrench that makes step six obvious
1/2 in8.9
2
A precision caliper tool resting on a workshop table
GEARWRENCH 85077 1/2 in Electronic Torque WrenchIf step six worries you
1/2 in8.9
3
A mechanic in coveralls checking hand tools in an automotive workshop
Precision Instruments C3FR250F 1/2 in Split-Beam Torque WrenchIf you will forget step seven
1/2 in8.8

Photographs on this page are licensed stock images that show the category, not the exact model, and not anything we own. We have no test rig and claim none.

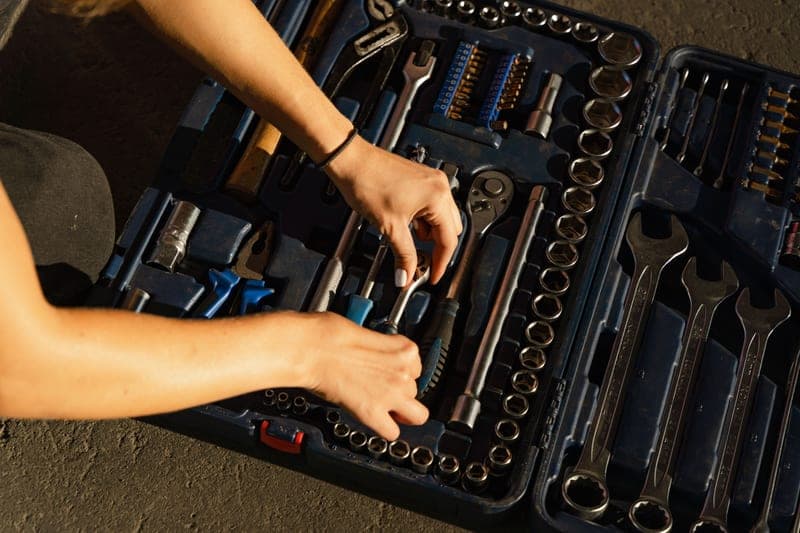
Hands organizing hand tools inside a blue toolbox

The procedure

  1. 1.Look up the specification for your vehicle

    Your owner's manual or service information, not a chart on the internet — including ours. Torque figures vary by model year, trim and wheel type. The lug nut torque chart explains where to look and what the general ranges are for context.

  2. 2.Set the wrench

    On a micrometer wrench: unlock the collar at the base of the handle, rotate the handle until the main scale reads the nearest lower graduation, then use the vernier marks on the handle to add the remainder. Lock the collar. If you cannot lock it, the setting can drift while you work.

  3. 3.Fit the correct socket, directly if possible

    Right size, fully seated. Every adapter, extension and universal joint you add introduces flex and potential error. A crow-foot or an offset adapter changes the effective lever length and therefore the torque actually applied — if you must use one, look up the correction rather than ignoring it.

  4. 4.Grip where the wrench expects you to

    In the middle of the grip. Calibration assumes the force is applied at a specific distance from the drive, and sliding your hand out to the end applies more torque than the wrench reads. Never add a pipe.

  5. 5.Pull smoothly, square to the fastener

    Steadily increasing force in one continuous motion, with the wrench perpendicular to the fastener axis. Jerking gets you a click at a peak you did not intend, and pulling at an angle loads the drive sideways.

  6. 6.Stop at the first click

    The click is the whole signal. It is not a stop — the wrench will keep applying torque if you keep pulling, and a second click means you have tightened past the specification. If you did not feel the first one, back off and repeat rather than pulling harder.

  7. 7.Wind it back down before storing

    Return a micrometer wrench to its lowest setting so the internal spring relaxes. This is the step people skip and it is the main reason a wrench drifts. Split-beam and digital wrenches do not need it.

Reading the scale without misinterpreting it

Micrometer wrenches have two scales that add together: the main scale on the shaft, marked in coarse increments, and a vernier on the rotating handle for the fine part. Setting 95 ft-lb on a wrench with 10 ft-lb main graduations means lining up the 90 mark and then rotating to 5 on the handle. Getting this backwards is a common first-time error and it produces a setting that is out by a full graduation.

Common mistakes

The short version

  • Pulling through the click, or treating a second click as confirmation
  • Holding the handle at its very end for extra leverage
  • Leaving a click wrench set at a high value in the drawer
  • Using it to loosen a seized fastener
  • Adding an extension or crow-foot without accounting for the change in leverage
  • Setting a value below 20% of the wrench's range, where accuracy is not specified

Units, briefly

US specifications are usually in pound-feet, written ft-lb or lb-ft — the same thing. Inch-pounds (in-lb) are twelve times smaller and appear on small fasteners; confusing the two by a factor of twelve is a memorable mistake. newton-meters (Nm) are metric; 1 ft-lb is about 1.356 Nm. Most wrenches carry two scales, so set the one that matches your specification rather than converting.

The picks in full

Every pick, in detail

A chrome socket wrench set photographed against a dark background

1. A wrench that makes step six obvious

TEKTON 1/2 in Drive Micrometer Torque Wrench (TRQ52402)

TEKTON · score 8.9/10

40-200 ft-lb on a 90-tooth head covers every lug-nut spec a normal car will ask for, and it clicks loudly enough that a beginner can hear it.

A crisp click on a 90-tooth head, 40-200 ft-lb. The clarity of the click is the single most useful property for a first-time user of a mechanical wrench.

Published specifications

Drive
1/2 in TEKTON
Range
40 – 200 ft-lb TEKTON
Head
90-tooth, dual direction TEKTON
Included
Storage case TEKTON

What works

  • 40-200 ft-lb brackets the 80-100 ft-lb most cars want at the wheel
  • 90-tooth ratchet needs only a small swing in a wheel well
  • Loud, unambiguous click — the thing beginners most need

What you give up

  • TEKTON does not publish an accuracy percentage for this model
  • Cannot do low-torque work — the range starts at 40 ft-lb
  • Must be wound back to its lowest setting after every use

Our scoring

  • Fit & reach9.0
  • Safety margin8.4
  • Beginner ease9.2
  • Build quality8.4
  • Value9.2
Check price on Amazon

#ad No price shown — we have no live feed. How this is funded

Specifications published by TEKTON — we earn nothing from that link.

A precision caliper tool resting on a workshop table

2. If step six worries you

GEARWRENCH 85077 1/2 in Electronic Torque Wrench

GEARWRENCH · score 8.9/10

The only wrench here with a published accuracy spec — ±2% clockwise, ±3% counter-clockwise from 20% to 100% of scale — and it warns you before you reach target.

A target-torque alert warns you before you arrive, then vibration, buzzer and LED confirm. ±2% CW, ±3% CCW from 20-100% of scale, 25-250 ft-lb.

Published specifications

Drive
1/2 in GEARWRENCH
Range
25 – 250 ft-lb GEARWRENCH
Accuracy
±2% CW, ±3% CCW (20-100% of scale) GEARWRENCH
Units
ft-lb, in-lb, Nm, kg-m, kg-cm GEARWRENCH
Alerts
Vibration, buzzer and LED at target GEARWRENCH
Warranty
1 year; calibration warranted 90 days GEARWRENCH

What works

  • Publishes its accuracy spec, which most brands in this price class do not
  • Target-torque alert makes over-tightening much harder
  • Three-way feedback — you cannot miss the target in a noisy garage

What you give up

  • Needs batteries, which is one more thing to fail mid-job
  • Calibration is only warranted for 90 days
  • Costs several times a basic click wrench

Our scoring

  • Fit & reach9.0
  • Safety margin9.2
  • Beginner ease9.0
  • Build quality9.0
  • Value7.4
Check price on Amazon

#ad No price shown — we have no live feed. How this is funded

Specifications published by GEARWRENCH — we earn nothing from that link.

A mechanic in coveralls checking hand tools in an automotive workshop

3. If you will forget step seven

Precision Instruments C3FR250F 1/2 in Split-Beam Torque Wrench

Precision Instruments · score 8.8/10

±4% accuracy, a flex head, and a split-beam mechanism that does not have to be dialed back to zero after use — the storage mistake stops mattering.

A split-beam mechanism does not need to be wound down after use, which removes the step people most often skip. ±4% over 40-250 ft-lb with a dated calibration certificate.

Published specifications

Range
40 – 250 ft-lb Precision Instruments
Length
22-1/8 in Precision Instruments
Increments
5 ft-lb Precision Instruments
Supplied with
Dated calibration certificate; made in USA Precision Instruments

What works

  • No need to wind it down after use — removes the most common storage error
  • Flex head reaches fasteners a fixed head cannot
  • Ships with a dated calibration certificate

What you give up

  • ±4% is looser than the electronic wrench's ±2%
  • 5 ft-lb increments are coarse for precise low-torque work
  • Professional pricing

Our scoring

  • Fit & reach9.2
  • Safety margin8.8
  • Beginner ease9.4
  • Build quality9.4
  • Value7.2
Check price on Amazon

#ad No price shown — we have no live feed. How this is funded

Specifications published by Precision Instruments — we earn nothing from that link.

Method

How these picks were chosen

We did not test these tools. We do not run a laboratory, we have not loaded a jack to failure or checked a wrench on a calibration bench, and we will not tell you otherwise. What we did instead is read the published manufacturer specifications, check the figures that matter against the safety standard that applies to portable automotive lifting equipment, and work out which tool suits which job. Every number on this page links to where it came from, so you can check us.

The five things we score are the five that decide a first purchase: will it fit under and lift your car, how much safety margin the rating and the locking mechanism leave you, how hard it is to get right alone in a driveway, what the materials and published standards say about how long it lasts, and what the money buys against the rest of the field.

Read the full method — including how we pick a top pick, and why we publish no prices.

Questions

Frequently asked questions

+Do you stop at the first click on a torque wrench?

Yes. One click means you have reached the set value. Continuing to pull applies more torque, and a second click means you have gone past specification.

+Where should I hold a torque wrench?

In the middle of the grip. The calibration assumes force applied at a set distance from the drive, so sliding your hand toward the end applies more torque than the wrench indicates.

+Should I set a torque wrench back to zero after use?

Back to its lowest setting, which on many wrenches is not zero. That relaxes the internal spring. Split-beam and digital wrenches do not need it.

+Can I use an extension with a torque wrench?

A straight extension in line with the drive axis does not change the leverage and is fine. An offset adapter or crow-foot does change the effective length, so the applied torque differs from the setting unless you correct for it.

+What is the difference between ft-lb and in-lb?

A factor of twelve. One foot-pound equals twelve inch-pounds. Small fasteners are often specified in inch-pounds, and mixing the two up is a large and memorable error.

Sources

Where these figures come from

Read next

Related reading